Search Topic
Soundproofing installation reducing noise signal
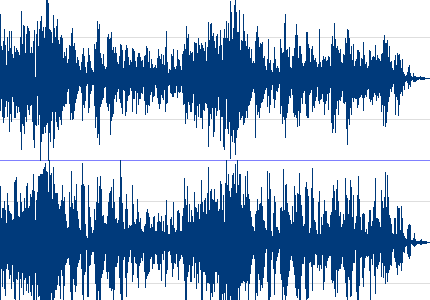
Reducing noise signal with sound proof wall is the arrangement to listen effectively in a noisy environment it is important to extract the relevant information from the background noise which is a significant problem for hearing impaired people. In environments with background noise the hearing aid will amplify the noise as well as the desired signal. Due to room reverberation the hearing aid will also amplify signals that are reflected against the walls, ceiling, floor, and other objects in the room. There are various method soundproofing installation reducing noise.
So it’s very important to reduce the noise of your music production room for avoid noise during production. There are several technique available , one of them is sound proof you room wall.
Methods of SOUNDPROOFING INSTALLATION REDUCING NOISE
There are five methods we use while soundproofing a room. You can use combination of 5 tactics. These methods are –
1. Loading Dense Mass/ Adding Mass
The first and foremost step to make recording room soundproof is Adding Mass/ Loading Dense Mass.
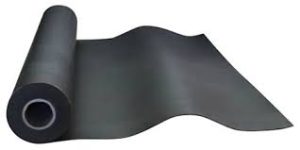
Loading mass means want to increase the amount of material on and within the boundaries of the room, to prevent sound from entering and exiting a room. Mass and density can be increase to increase the amount of sound wave energy. Each & every walls to ceiling and flooring to vibrate. To create the additional structures must be built using materials such as mass loaded vinyl, aka Sheetblock.
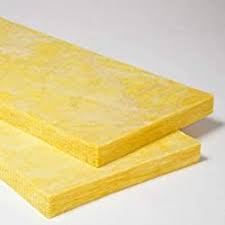
Add insulation like some rigid fiberglass to replace the drywall to fill the air gaps in the wall’s frame. It absorbs sound but doesn’t let heat and cool air pass through very well at all. Sound Transmission Class (STC), is a rating by which materials are measured for their effectiveness at soundproofing and assigned a rating. When you are measuring a sound loss, Sound Transmission Loss rating.
2. Damping
The second step of soundproofing. It is a method of soundproofing, that dissolute kinetic energy by friction and other resistances and dampened the vibration. Sound of the recording may travel through dry well, wooden frame and disturb the neighborhood. Then we have to reduce the vibration to its equilibrium position. The acoustic treatment does, the conversion kinetic energy to heat & capture the vibrations that are already inside the walls.

Green Glue’s damping compound is the most popular for soundproofing. By sandwiching Green Glue between two rigid panels, such as drywall, plywood, or medium density fiberboard (MDF).
3. Decoupling
The third step to make room soundproof is Decoupling. It can be done in 3 ways, mainly-
-
Separating Structural Layers
-
Building Double Walls
-
Creating a Floating Floor
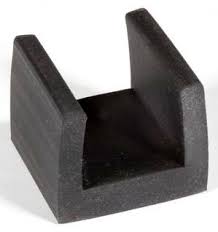
It is the process of blocking that transfer of sound by isolating the contact points, usually with some sort of dense, pliable rubber.
4. Filling Air Gaps/ Closing Air Gaps
The forth step is filling the gaps or closing air gaps to make it sealed to sound proof. After the three step, only one step to fill the leak of sound through any hole is necessary to build a soundproof room for producing music. The good thing is that it’s not hard, costly, or time consuming. There are gaps around those pipes, gaps around your windows, door frames, A/C vents, and more.
Holes can be filled up by using 3 tools available
a.Acoustical Caulk

It used to seal up any cracks in the perimeter of the room, or any small holes that may exist elsewhere. It soft and pliable.
b.Foam Gaskets
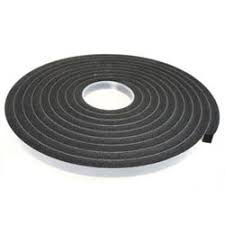
It needed to seal up air gaps from your electrical outlets, window, doors, etc.
c.Automatic Door Bottoms
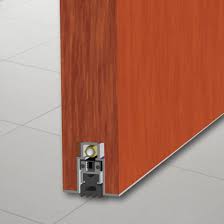
It helps to block the open space between the bottom of the door and the floor.
These above said steps are basic of how soundproofing is done.
5. Applying Acoustic Treatment
It aims only to control soundproofing installation reducing noise reflections within the room, to make better sounding recordings. It needs to suck extra sound reflections out of the air so you’re hearing or recording only the primary instance of a sound.
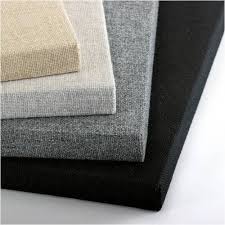
Absorption panels are used to reduce the energy of sound, restrict the sound to create extra reverb or other issues by bouncing the sound waves aimlessly. It absorb the sound rather let it hit back.
These are about making ‘a room within a room’ means a soundproof room for perfect music production.


