Search Topic
The Ultimate Guide To Dictaphone In Recording
Brief introduction of dictaphone in audio recording
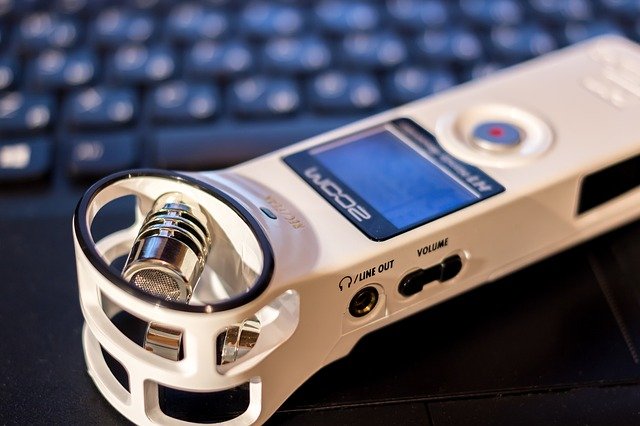
Dictaphone is the absolute audio hands-free voice recorder for anyone looking to record a memo or notes. Alexander Graham Bell has invented dictaphone machines. This audio recording app commands notes and memos, day-to-day sounds & podcasts. No handwritten notes are needed whether audio recording everyday music or a critical memo with the use of speech. Here, we will discuss dictaphone in recording process.

Procedure to use dictaphone in recording
Music creator can connect their mono or stereo outputs to one or two of their audio interface’s inputs.There is many such synths can be sync’d to the DAW over MIDI too, using dedicated 5-pin MIDI sockets or USB.
- In dictaphone to record and captured some upright piano chords and some scattered, higher notes. It is very convenient to plug in just a USB cable and transfer these directly to DAW, by recording them via a mic and preamp, as played back through the dictaphone’s speaker.
- Next stage, mute the original dictaphone recordings and ready the set up the piano instrument, recording the same two piano chords that have been captured via the dictaphone earlier. The dictaphone recordings were made without a tempo.We use Logic’s Flex Time algorithm to ‘quantise’ these, means each spike is leaned forward to the nearest 16th note. This creates a rhythm, the way repeating rhythm creates bar.
- Then, isolate the two single piano notes recorded after the chords and assign them to an audio track each. We select a short piece of each note and loop the audio file, using Equal Power Crossfades between each slice.
- Then creation pads is a major step. Here we add EQ and a long reverb to turn these notes into pads.
- Lastly, a similar husky rhythm from the end of the file fills in the gaps between the main rhythmic figure. Here another feature called ‘beep’ will be used to complete the recording.
- Finally, checking the pitch against the piano, then transpose it to the root note.
Hopefully, our blog will be helpful to those who love music, live music. We will soon be back with another musical blog. Stay tuned.


